Tutorial
How Stagedly works from upload to buyer-ready gallery
Whether you need digital staging, furniture removal, or a hybrid workflow, this step-by-step guide shows exactly how to go from raw photos to marketing-ready visuals.
Three simple steps to polished listing photos
Use AI for instant previews, then call in our human editors for final polish.

Upload the room photos you want staged or decluttered.
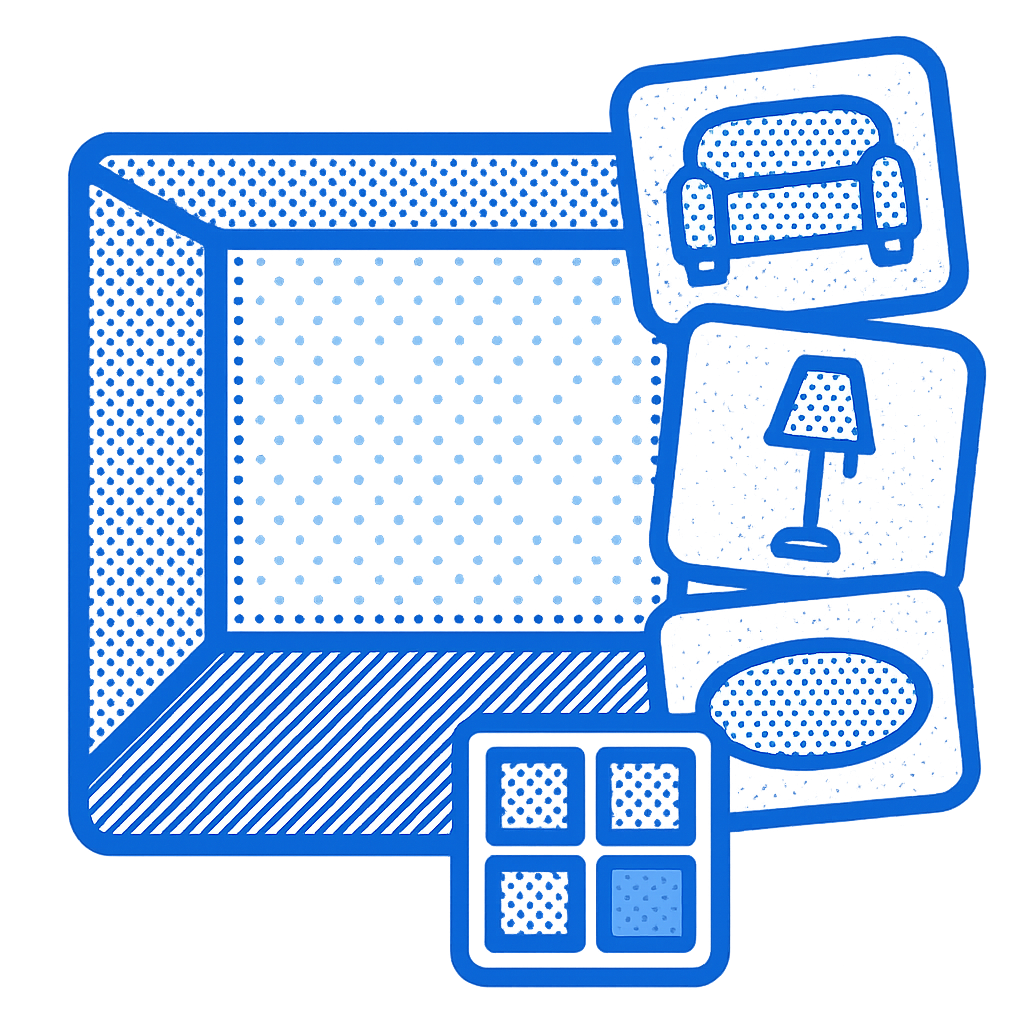
Pick staging styles, notes, or objects to remove.
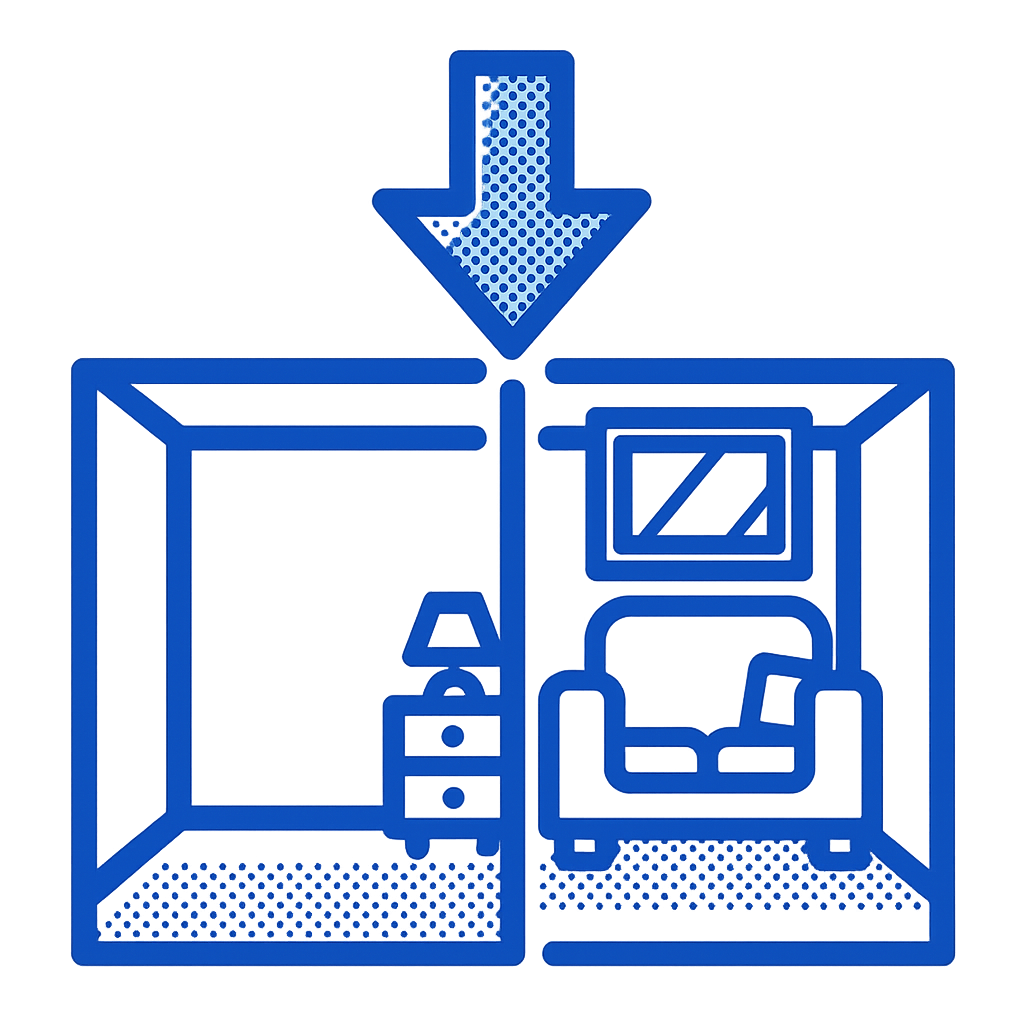
Review AI renders and request human-polished edits.
What happens at each milestone
Keep clients informed by sharing this sequence in your onboarding emails.
- 1
1. Prep & upload
Drag photos from your camera roll or MLS. We automatically check resolution, orientation, and brightness so you only submit shots that will stage well.
Pro tip
Need a checklist? Download the free photo guide from the Support page.
- 2
2. Set instructions
Choose a staging style, furniture density, or removal mode (mask specific items or wipe the entire room). Add buyer personas, color notes, or links for inspiration.
Pro tip
Short prompts work best: e.g. “Modern coastal, keep the fireplace, remove boxes on the left.”
- 3
3. AI staging pass
In minutes you'll see side-by-side before/after previews plus downloadable JPG/PNG files sized for MLS and social. Each render includes metadata so you can track what changed.
Pro tip
Toggle between staging and removal services per image without re-uploading.
- 4
4. Human polish & delivery
Submit revision notes directly on the photo. Our editors fine-tone lighting, perspective lines, and texture realism before final delivery.
Pro tip
Every order includes one complimentary revision within 24 hours.

What clients receive
- ✔️ High-res JPG/PNG files sized for MLS & social
- ✔️ Before/after slider embed code
- ✔️ Usage permissions for marketing
- ✔️ Optional 24-hour concierge edits
Need advanced workflows?
Ask about multi-unit uploads, branded exports, or adding your designers to the review loop.
Talk to support →Photo prep
Checklist before you upload
Strong input photos dramatically improve realism. Keep this list handy for every shoot.
- ✓Shoot wide and level. Aim for 12–18 feet back.
- ✓Turn on interior lights and open blinds for balanced exposure.
- ✓Capture every marketing angle: entry, living, kitchen, bed, bath.
- ✓Note permanent fixtures that must stay (fireplaces, built-ins, windows).
- ✓Upload at least 2000 px on the shortest side for crisp staging.
Ready to test it?
Upload up to 3 photos on the free tier and see how quickly you can turn a vacant space into a buyer magnet.